


Your Webflow site is live. Now you need to know what's actually happening on it. Setting up analytics correctly from the start means you can track visitor behaviour, measure conversions, and make decisions based on real data rather than guesswork.
This guide walks you through connecting the most common analytics tools to your Webflow site, verifying that tracking is working, and understanding what to look for once the data starts coming in.
1. Connect Google Analytics 4
Google Analytics 4 (GA4) is the standard starting point for most businesses. It tracks page views, sessions, user demographics, traffic sources, and events like button clicks or form submissions.
How to add GA4 to Webflow
There are two ways to connect GA4: through Webflow's built-in integration or via a custom code snippet. The built-in method is faster and recommended for most users.
Option A — Webflow's native integration
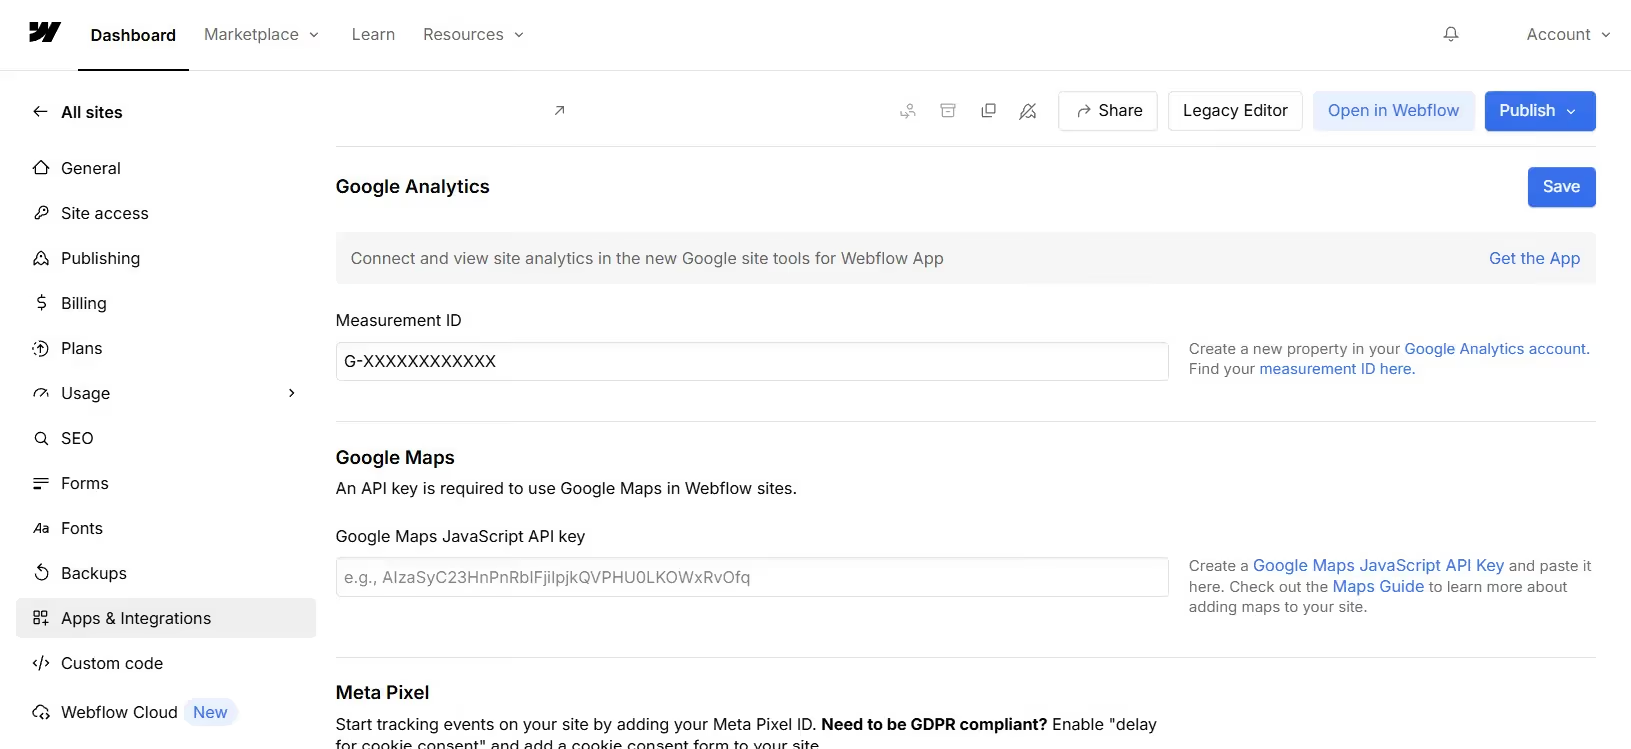
- In your Webflow dashboard, go to Site Settings > Integrations.
- Find Google Analytics and enter your GA4 Measurement ID (formatted as G-XXXXXXXXXX).
- Save and publish your site.
💡 Note: Your Measurement ID is found in your GA4 account under Admin > Data Streams > select your stream.
Option B — Custom code snippet
- Go to Site Settings > Custom Code in Webflow.
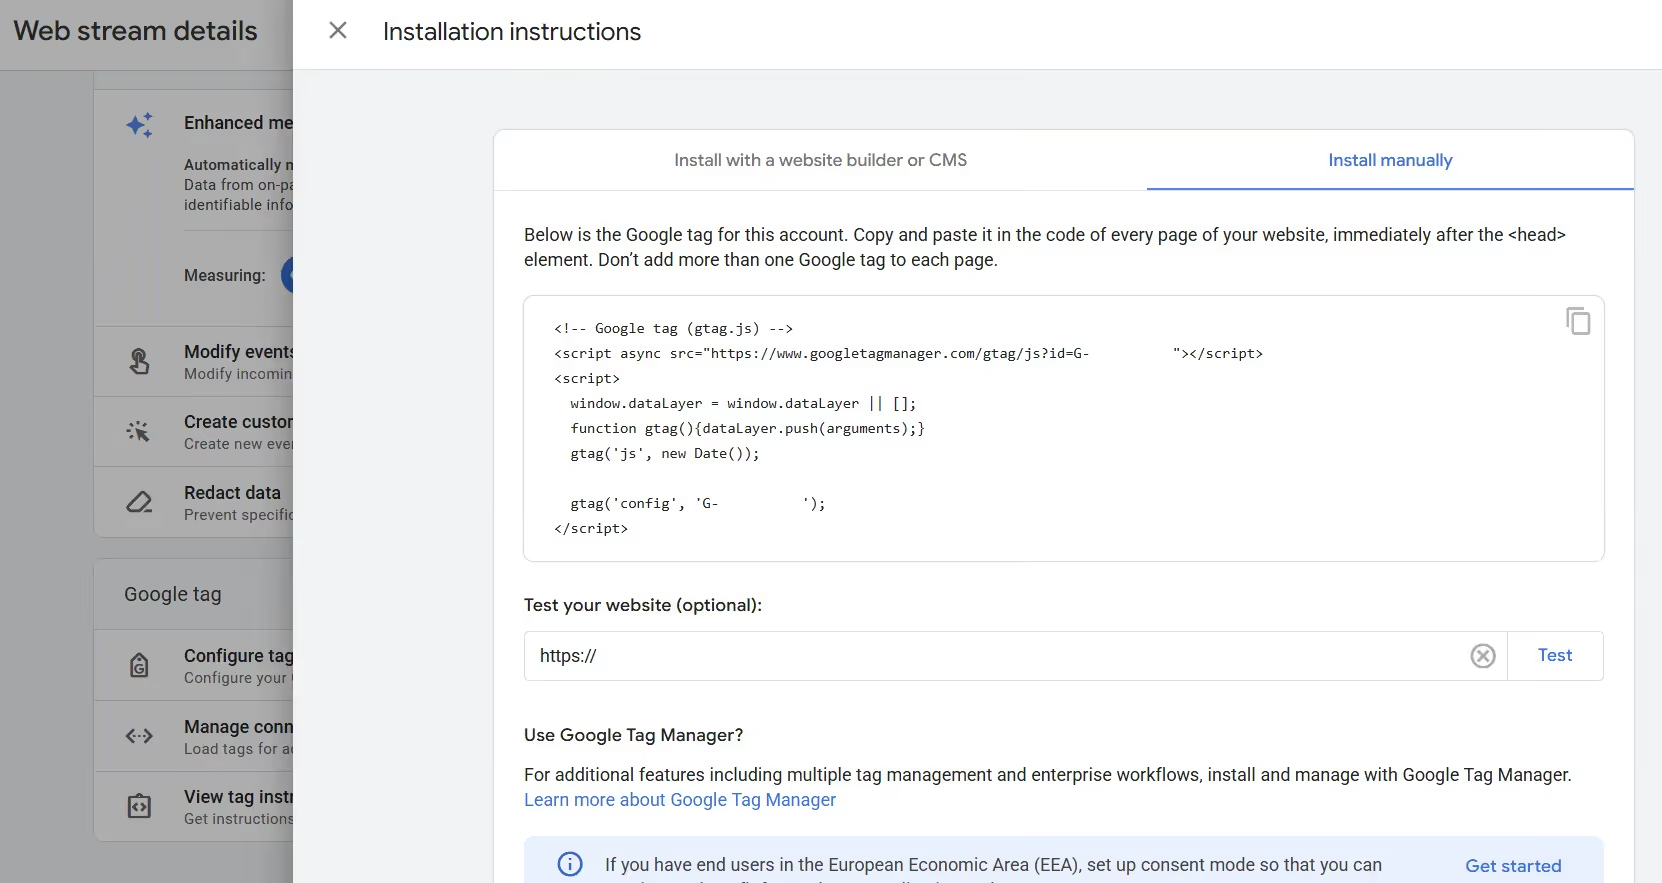
- Paste your GA4 Global Site Tag (gtag.js) into the Head Code section.
- Publish your site.
Use Option B if you need greater control, such as when adding consent management or Tag Manager alongside GA4.
💡 Note: Your Global Site Tag is found in your GA4 account under Admin > Data Streams > select your stream > View tag instructions > Install manually.
2. Use Google Tag Manager (Optional but Recommended)
Google Tag Manager (GTM) lets you manage multiple tracking scripts from one place, without editing your Webflow code every time. If you plan to run paid ads, use heatmaps, or add conversion tracking, GTM saves significant time.
Installing GTM on Webflow
- Create a GTM account and container at tagmanager.google.com.
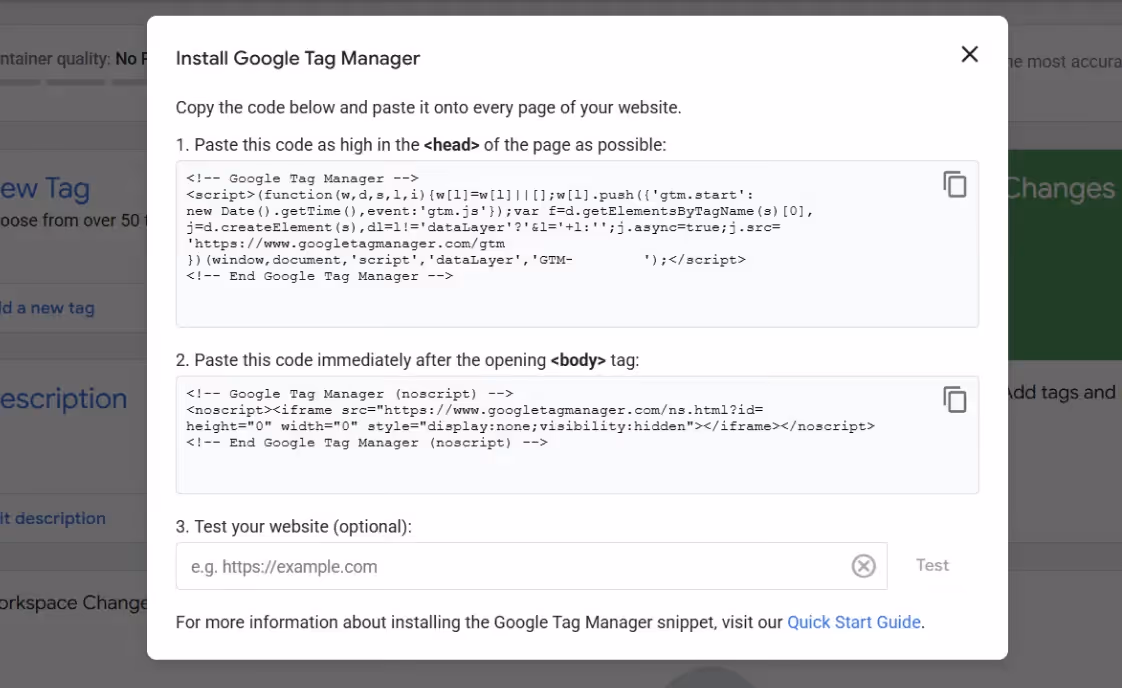
- Copy the GTM snippet — there are two parts: one for the <head> and one for the <body>.
- In Webflow's Site Settings > Custom Code, paste the head snippet in Head Code and the body snippet in Footer Code.
- Publish your site.
- Install GA4 as a tag inside GTM rather than using Webflow's native integration.
💡 Note: Once GTM is installed, you can add Facebook Pixel, LinkedIn Insight Tag, or any other script directly inside GTM — no further Webflow code changes needed.
3. Verify That Tracking Is Working
Publishing your site doesn't guarantee analytics are firing correctly. Always verify before assuming data is accurate.
Check real-time data in GA4
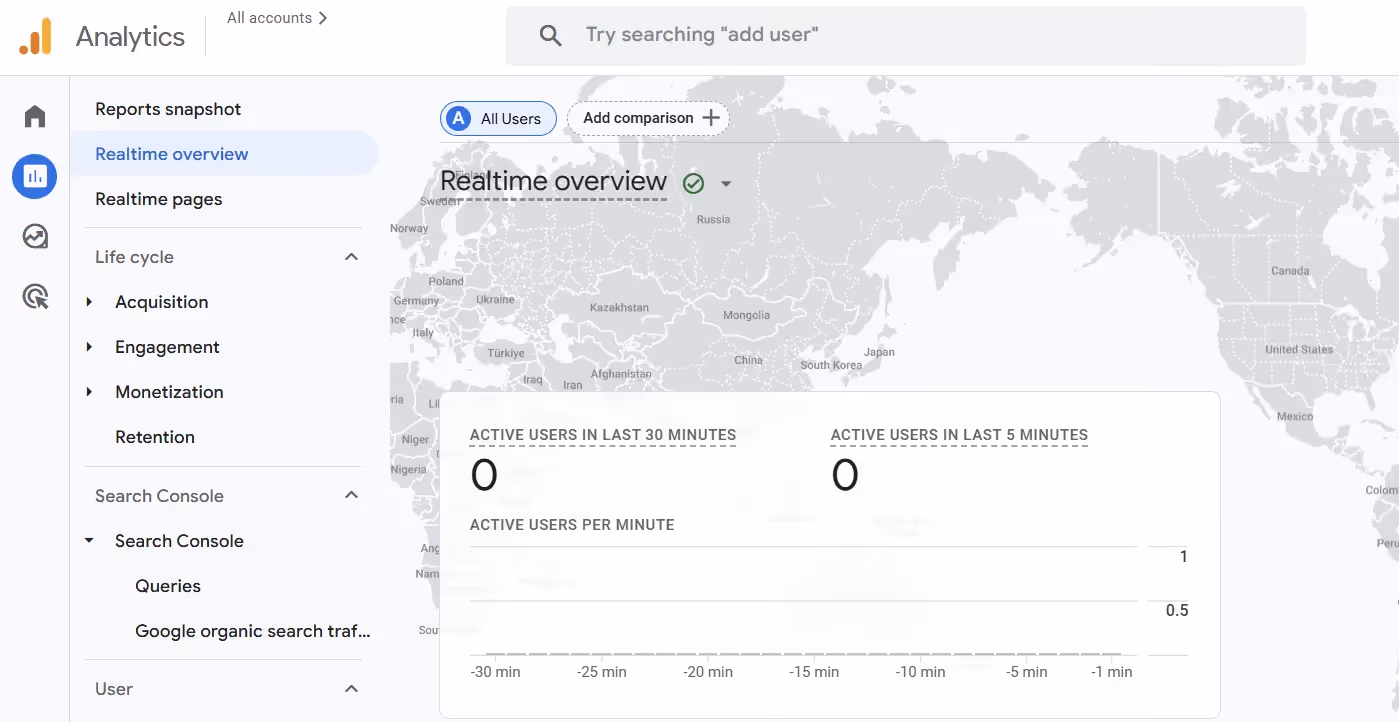
- Open GA4 and navigate to Reports > Realtime.
- Visit your Webflow site in a separate browser tab.
- Confirm your visit appears in the real-time view within 30 seconds.
Use Google Tag Assistant
- Install the Tag Assistant Chrome extension from Google.
- Visit your site with the extension active.
- It will show which tags are firing and flag any errors.
Check for duplicate tracking
A common mistake is installing GA4 both through Webflow's native integration and via GTM. This causes every pageview to be counted twice. Use one method only — not both.
4. Set Up Conversion Tracking
Pageviews alone don't tell you whether your site is doing its job. Conversion tracking shows you whether visitors are completing the actions that matter — form fills, purchases, sign-ups, or calls.
Track form submissions
- In Webflow, you can use the built-in form submission trigger in GTM to fire a conversion event whenever a form is submitted.
- In GA4, set this event as a conversion under Admin > Events > Mark as conversion.
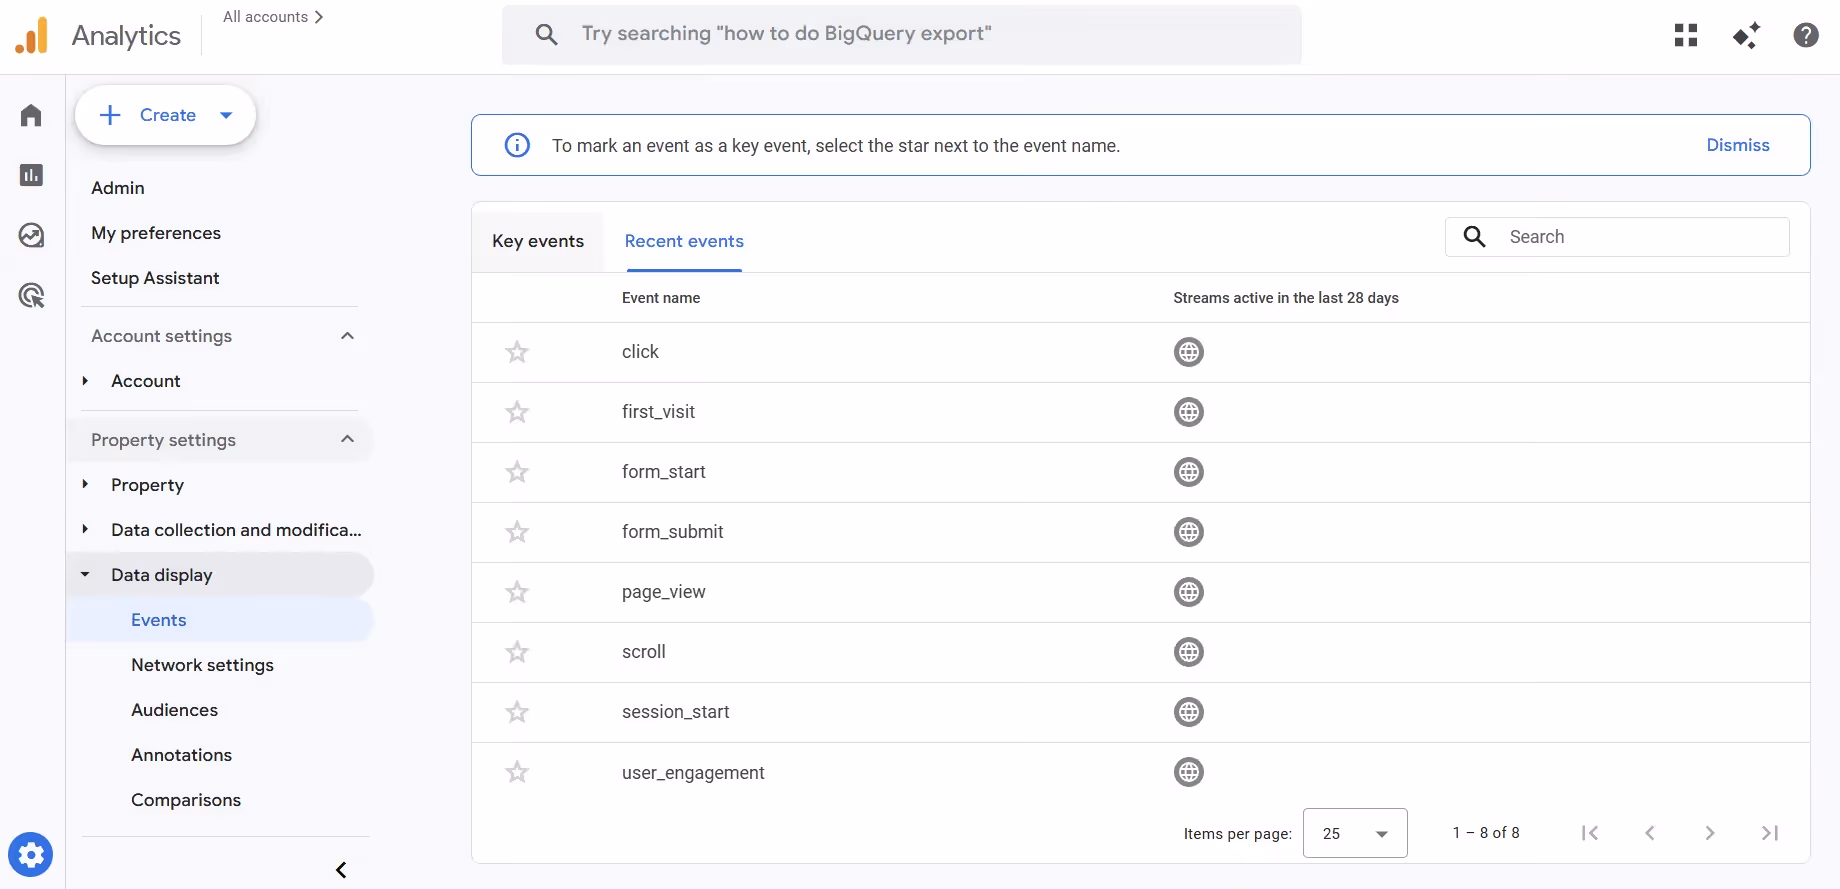
Track thank-you page visits
If your form redirects to a thank-you page, you can treat a pageview of that URL as a conversion. In GA4, create a new conversion event based on the page_view event filtered to that specific URL.
E-commerce tracking
For Webflow Commerce sites, enable enhanced e-commerce in GA4 to track product views, add-to-cart events, and completed purchases. This requires additional GTM configuration or a developer to implement the data layer correctly.
5. Connect Google Search Console
Google Search Console (GSC) shows how your site performs in Google Search — which keywords bring visitors, how often your pages appear in results, and whether Google can properly crawl your site.
Verify your site
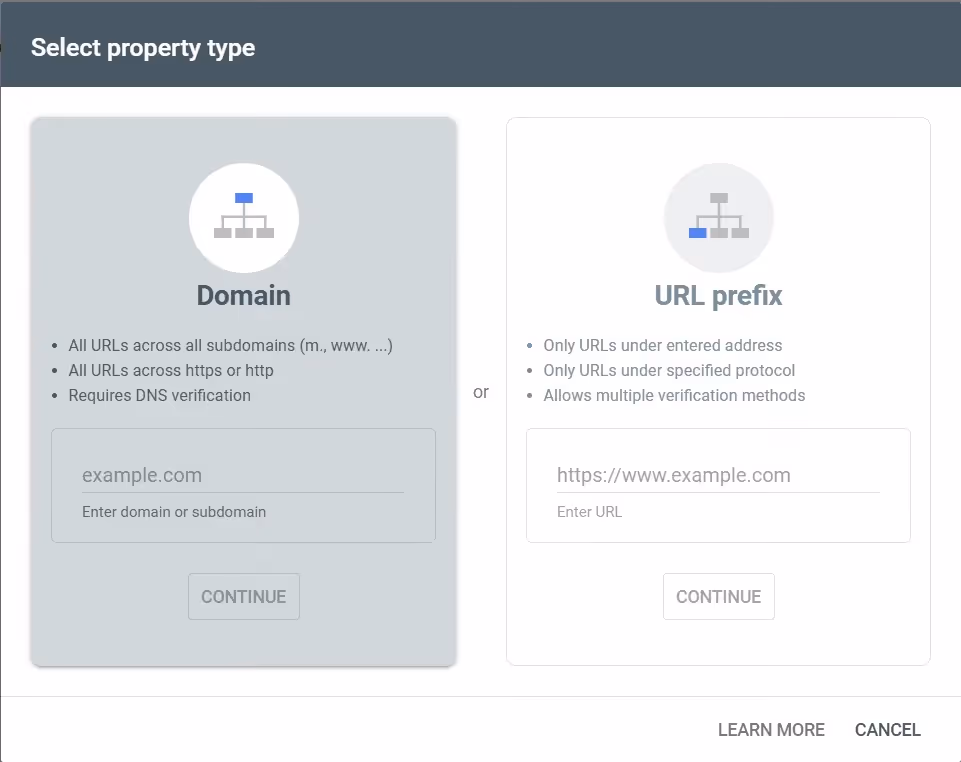
- Go to search.google.com/search-console and add your property.
- Choose the DNS verification method or use the HTML tag method.
- For the HTML tag method: copy the meta tag Google provides and paste it into Webflow's Site Settings > Custom Code > Head Code, then publish.
Link GSC to GA4
- In GA4, go to Admin > Product Links > Search Console Links.
- Follow the steps to connect your verified GSC property.
- This allows you to see organic search keyword data directly within GA4 reports.
6. Key Metrics to Review After Launch
Once tracking is live, focus on a small set of meaningful metrics rather than trying to interpret everything at once.
In the first week
- Traffic sources — Are visitors arriving from search, social, direct, or referral? This tells you which channels are working.
- Top pages by views — Which pages are attracting the most attention?
- Bounce rate / engagement rate — Are people staying and exploring, or leaving immediately?
- Conversions — Are form submissions or purchases occurring at the rate you expected?
Ongoing monthly review
- Compare month-over-month traffic trends.
- Identify which pages drive the most conversions.
- Review search queries in GSC to find new content opportunities.
- Check for any sharp drops in traffic that could indicate a technical issue.
Quick Setup Checklist
- Create a GA4 property and obtain your Measurement ID.
- Connect GA4 via Webflow's native integration or via GTM.
- Install Google Tag Manager if managing multiple scripts.
- Verify tracking is live using GA4 Realtime and Tag Assistant.
- Set up at least one conversion event (e.g. form submission).
- Verify your site in Google Search Console and link to GA4.
- Schedule a regular monthly review of key metrics.